Contents on this post
In another post I talked about what is the correct height of the strings. I recommend you to read it before continuing. There I tried to explain that there is no single answer to the question of what is the correct action. If after reading the article you think your strings are too high, here is a guide on how to do it. With some precautions, it is a relatively simple adjustment that you can do at home without much difficulty. The basic idea is to sand the saddle of the bridge to get a comfortable action without annoying fretting.
Tools needed to lower the string height
You will need:
1. a piece of sandpaper, 120 or 180 grit. The size of the sandpaper should be at least about 20 centimeters long.
2. A piece of finer grit sandpaper, at least 320 grit, the same size as the previous one.
3. Masking tape.
4. A pencil.
5. A measuring ruler.
How to know how much I have to lower the saddle
As a guide to know how much you have to lower the saddle, you have to know that to lower the strings a distance x, you will have to lower the bridge bone 2x, that is to say, the double. This is because just the 12th fret is half the string throw, i.e. half the vibrating distance.
So imagine you have 4.5 mm of action on the 6th string and you want to lower it to 3.5 mm, i.e. one millimeter. That means you have to lower the saddle twice as much, or 2 mm.
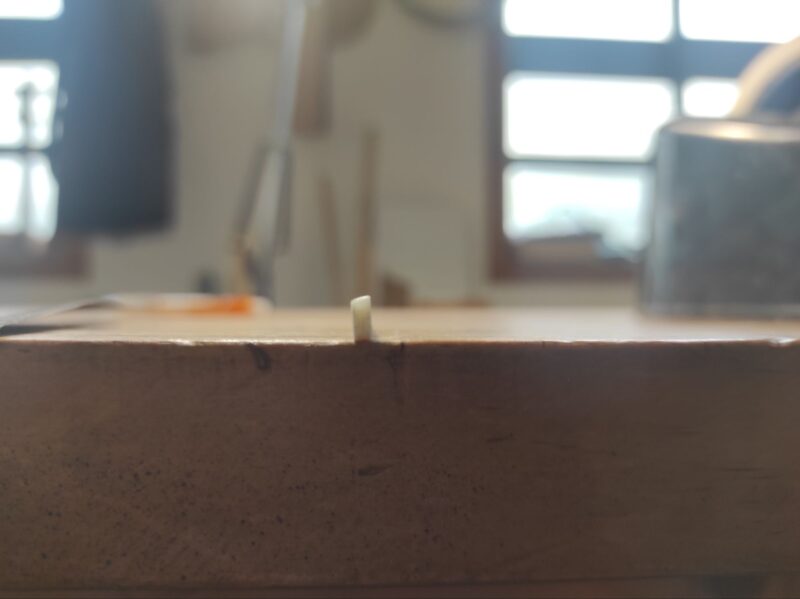
The next question you have to ask yourself is whether you have the margin to do it. That is, does the saddle bone protrude far enough above the bridge to lower the saddle all that distance? If this is not the case, your guitar probably needs another type of repair, which I strongly advise you not to do yourself. Contact me if you have any doubts, but in case you don’t have a bridge clearance, you would also have to measure the action at fret 1 and also next to the saddle, to know what is going on. From there we could get an idea of how to act.
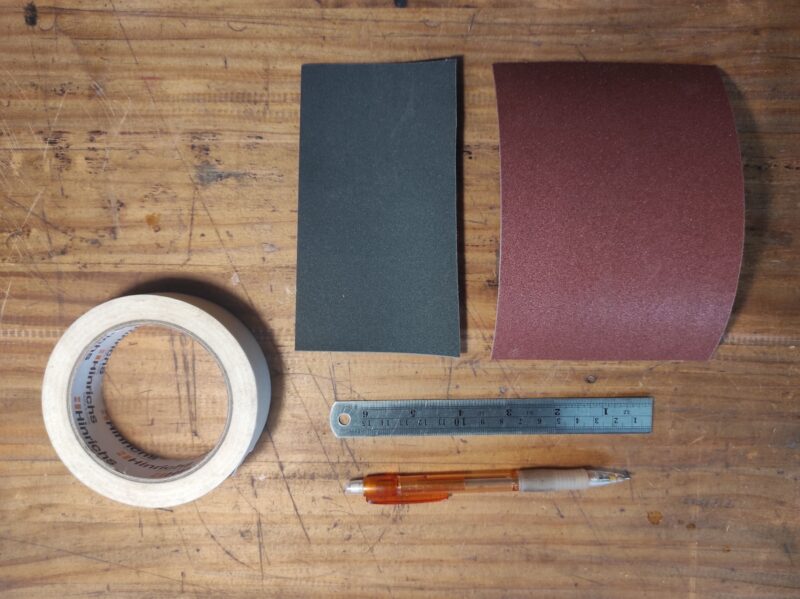
Tools for lowering the height of a classical guitar saddle
How to know how much I have to lower the saddle
As a guide to know how much you have to lower the saddle, you have to know that to lower the strings a distance x, you will have to lower the bridge bone 2x, that is to say, the double. This is because just the 12th fret is half the string throw, that is, half the vibrating distance of the strings of the guitar.
So imagine you have 4.5 mm of action on the 6th string and you want to bring it down to 3.5 mm, i.e. one millimeter. That means you have to lower the saddle twice as much, or 2 mm.
The next question you have to ask yourself is whether you have the margin to do it. That is, does the saddle bone protrude far enough above the bridge to lower the saddle all that distance? If this is not the case, your guitar probably needs another type of repair, which I strongly advise you not to do yourself. Contact me if you have any doubts, but in case you don’t have a bridge clearance, you would also have to measure the action at fret 1 and also next to the saddle, to know what is going on. From there we could get an idea of how to act.
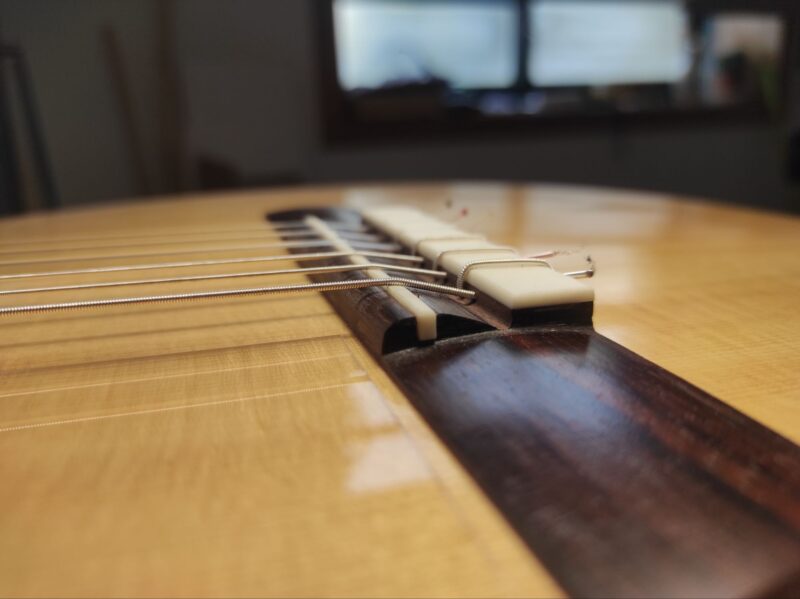
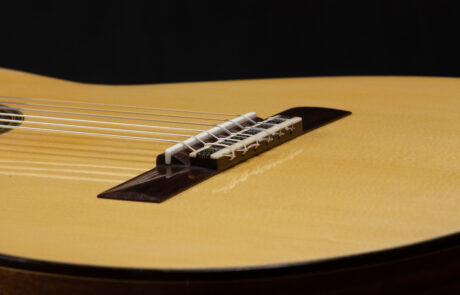
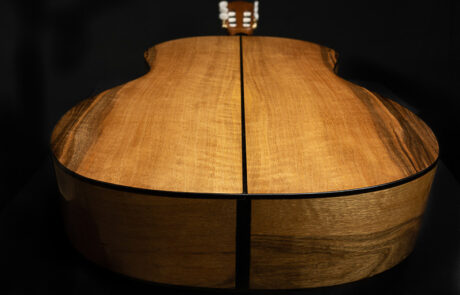
This guitar has no margin to adjust the height of the saddle to adjust guitar’s action.
The process of lowering the bone, step by step
1. Loosen the ropes and remove the saddle
Once you have decided how much you want to lower, and you have checked that you have room in the saddle to do so, you will need to remove the strings, or at least loosen them enough to be able to pull the saddle out of place. Normally it should come out of place by simply pulling it carefully upwards. If the foolish maker of your guitar, or some over-initiated user has come up with the idea of gluing the saddle in place, take it to a luthier. You will know that the saddle is glued simply because it does not come off when you pull it up.
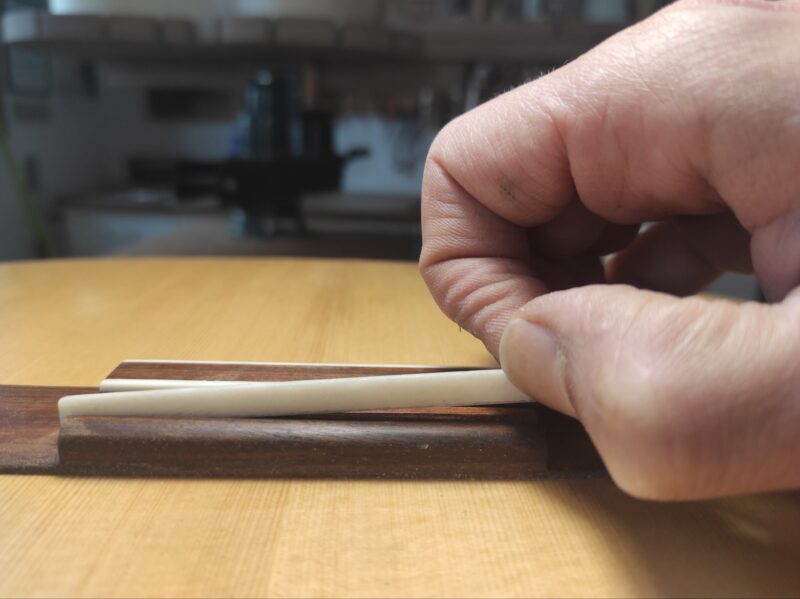
The saddle should come off just by pulling it with our own hand
It is true that sometimes you have to use a little force, but it is not usually necessary to use any tool to remove it. You could try to pry it up from below with a non-metallic object, but I advise you to do it carefully. The reason for using a non-metallic object is to avoid damaging or scratching the wood of the bridge or, even worse, the wood of the cover. Perhaps a sharp plastic object, like the cap of a BIC pen, for example, could be useful.
2. Lowering the saddle with sandpaper
Well, with your saddle already out of the bridge, the next step is to lower it from the bottom. I don’t advise to do it from the top, as they usually have an angled shape, as well as a slightly curved profile to avoid bends, which is important to keep. OK, now mark how far you want to go down the bottom. Imagine that, as we said, you want to lower the bone by 2 mm. Then with a pencil, mark that distance at the ends and join the marks with a line. That’s how far down you want to go.
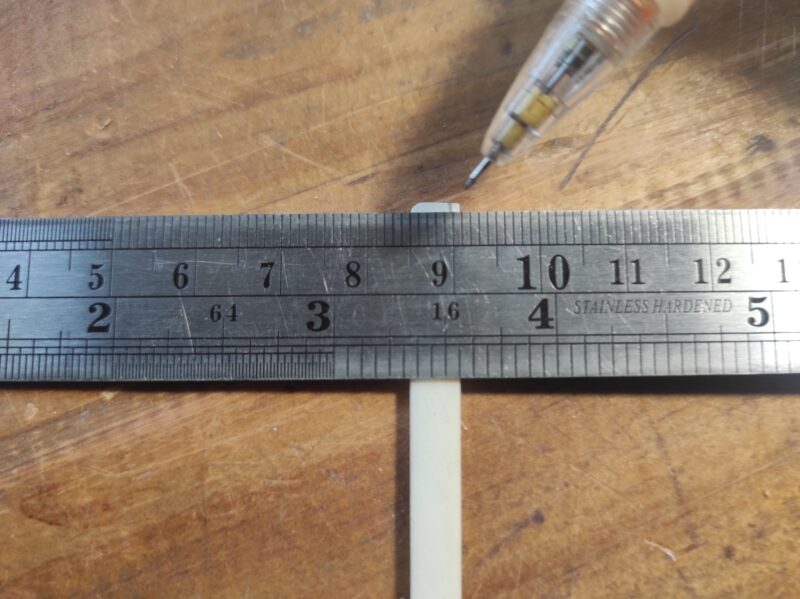
Marking the saddle edges with a ruler.
Marca en los extremos de la selleta, para saber cuánto rebajar

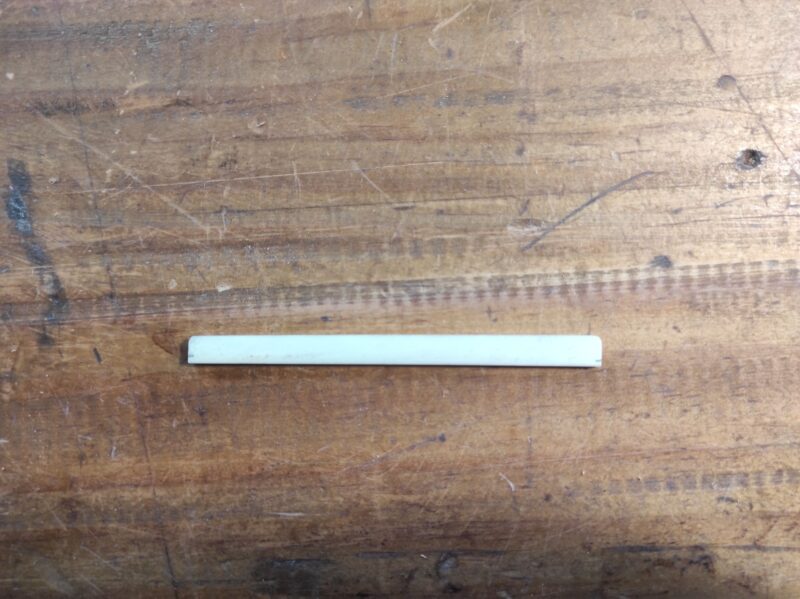
Join both marks with a pencil line
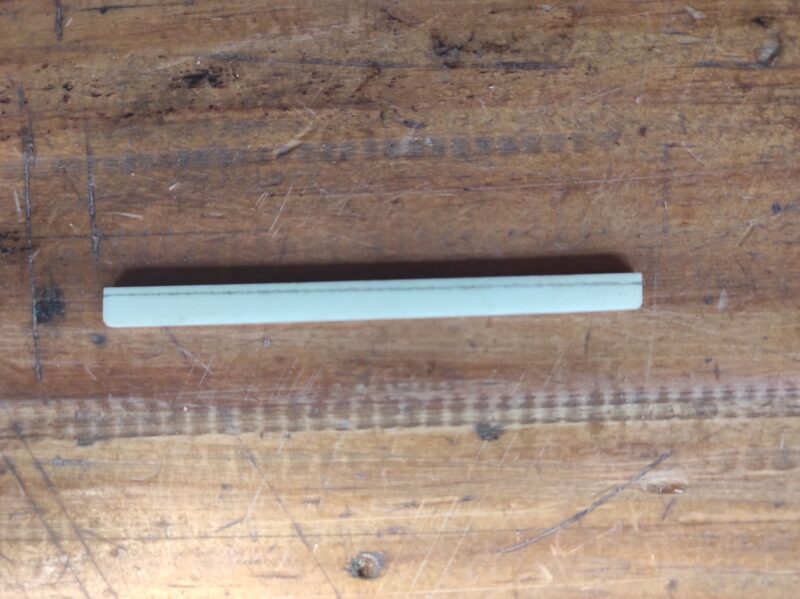
The pencil line will be our limit when sanding the saddle
The saddle must be sanded from its bottom part, to avoid altering its upper profile.
Take your sandpaper and stick it to a table, using masking tape. Now rub the seal -I insist, on the bottom side- against the sandpaper, always keeping it vertical, to avoid altering the angle at which it enters the bridge. Be patient. It takes a little while to reduce one millimeter. Not to mention two millimeters… So go on with the sandpaper, checking at all times that the rebate is the same for the entire width of the saddle.
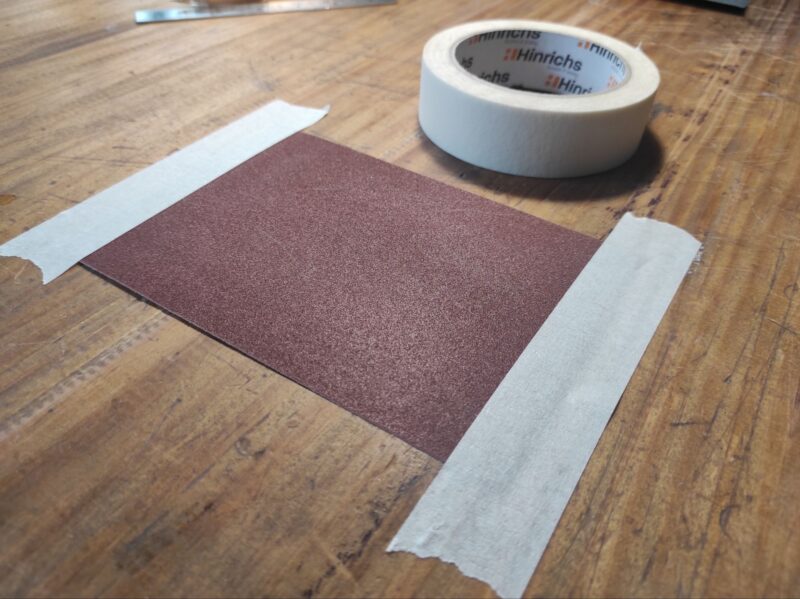
The masking tape will help you keeping your sanding paper flat over the table.
When you get close to the line you have drawn, do a test on the guitar. Put the saddle back on, put the strings back on and tune the guitar. Measure the action again: has it gone low enough, how does the guitar feel when you play, have any fretting appeared, do you still want to go a little lower, do you still want to go a little lower, do you still want to go a little lower? If you notice the improvement and no fretting has appeared, but you still want a lower action, repeat the operation until you are at the point you are most comfortable with.
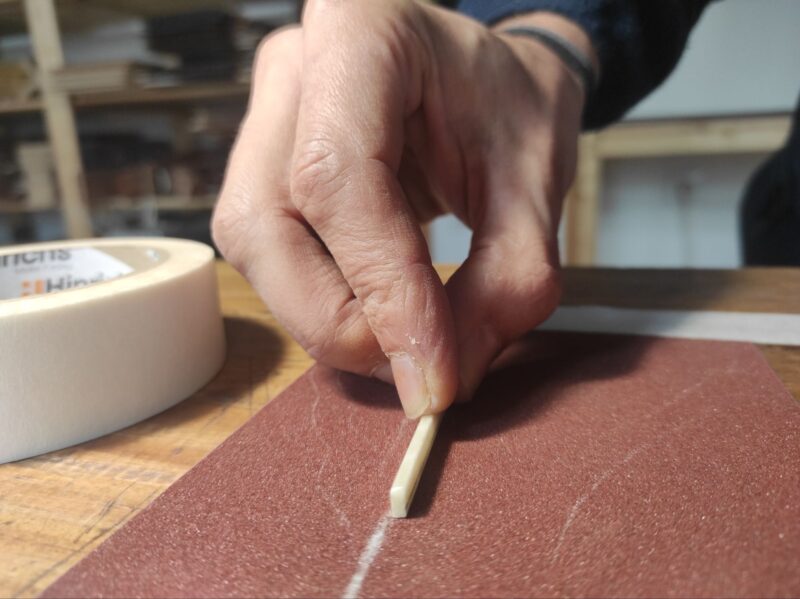
Keep the saddle vertical while you are sanding it
But be careful! If you overdo the sanding, you may start to get horrible fret buzzings and the solution may be that your luthier will have to make you a new saddle bone. Being conservative here is the right thing to do. Don’t let the bone sit lower than the bridge slot: the strings should rest on the saddle, not on the wood. Perhaps the best thing to do when sanding is not to erase the mark you have made with the pencil. Stop sanding just before: this way you will have a margin when polishing the bone, which I explain a little further down.
If you can’t go any lower and the bone has no more room to go down, then your guitar needs to have the neck angle adjusted, which is a considerable amount of work. It is common for a guitar to need this adjustment over time, but I can tell you that it is a repair that is not going to cost you two bucks, because it usually involves removing the frets and adjusting the fretboard, if not directly replacing it with a new one.
3. Polishing the saddle
Once you have the saddle almost to your liking, take it out again and polish it using the finest grit sandpaper. It is important that the bridge bone makes good contact with the saddle, so that the transmission of vibrations is as good as possible. A bone that does not make good contact with the saddle is a bone where, so to speak, you are losing information. So it may be good advice to polish the saddle underneath, with the same procedure we did for the coarser recess. You don’t need to insist too much on this part. It is enough that the bone is smooth to the touch.
As you can see, with some precautions, lowering the height of the strings is a relatively simple process. You will find that it takes a while. Don’t try to lower everything you want all at once: the best thing to do is to approach the desired point little by little, and in between put the strings back on and try to see how things change.
Related Posts


Guitar models
Concert guitar, made with Red Cedar, Ovangkol and Katalox wood
“Syrinx” model in flamed maple and spruce
“Syrinx” classical guitar model, in bearclaw Spruce and Indian Rosewood

Concert guitar, built in Red Cedar and Indian Rosewood. Year 2023
Traditional guitar, finalist of the 6th. Antonio Marín Guitar Building Competition

Ecologic short scale guitar replica
Walnut and spruce traditional guitar